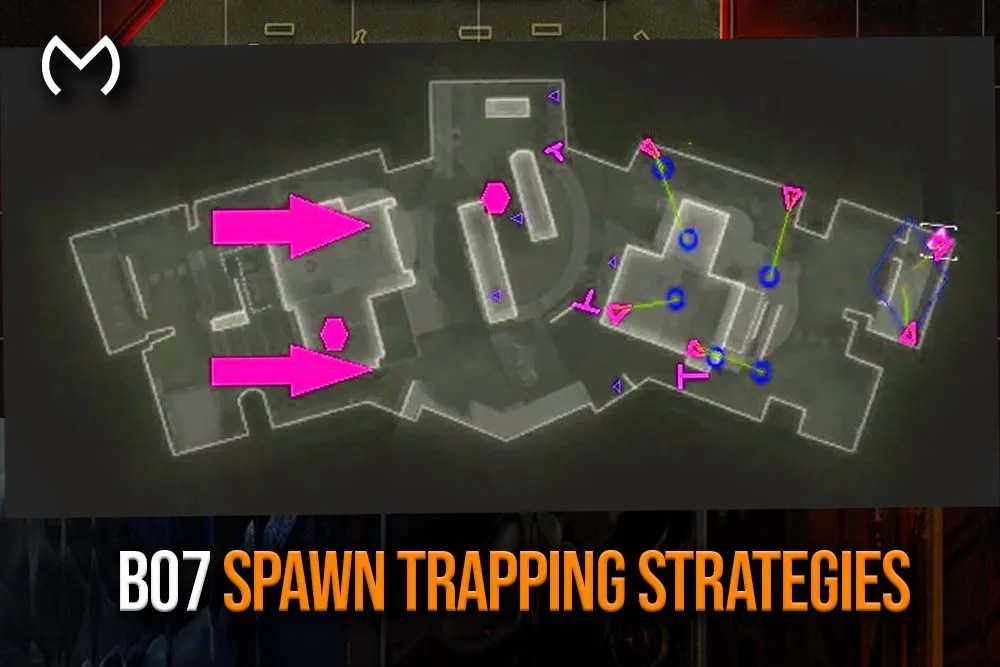
BO7 Spawn Trapping Strategies
If you’re looking for the best BO7 spawn trapping strategies, no worries — this guide explains how to predict spawns, lock lanes, and apply pressure in Black Ops 7 multiplayer without unintentionally flipping the map. Spawn trapping isn’t about cheesing the game or glitching the system; it’s about understanding positioning, timing, and spawn influence to force enemies into predictable routes.
BO7 is more tactical than fast “run-and-gun” COD titles, which means spawn traps are slower, deliberate, and built around map control rather than raw aggression. Done correctly, spawn trapping can snowball a lead quickly — especially in Hardpoint and Domination — but done poorly, it hands the enemy a free rotation and resets the match momentum.
This full guide breaks down how to trap spawns effectively, how to avoid mistakes, and how to build predictable patterns without predictable exposure.
How Spawn Influence Works in BO7
Spawn trapping starts with understanding how spawn locations change in Black Ops 7.
The spawn system prioritizes:
- Safety areas
- Distance from active gunfire
- Teammate distribution
- Uncontested corners of the map
- Whether a lane is blocked by enemy presence
A trap forms when your team holds positions that limit spawn options, but still avoids pushing too deep and triggering flips.
Spawn trapping isn’t aggression — it’s controlled aggression.
BO7 Spawn Trapping Strategies: Positioning Is Everything
The strongest spawn traps rely on positional discipline:
- Don’t sprint past the “spawn line.”
- Don’t enter the back of their base.
- Don’t chase kills into their spawn pocket.
- Don’t let teammates randomly push deep.
Anchor and Pressure — The Spawn Trap Formula
A trap forms when:
- One lane is anchored (not pushed but held)
- One lane is pressured (but not crossed)
- Mid-map is controlled
You win the trap only if:
- You don’t break formation
- You don’t get greedy
- You don’t start chasing highlight clips
Teams lose spawn control because players want “one more kill.”
Winning is better.
The Three-Lane Trap Concept
BO7’s launch maps use familiar three-lane architecture.
To build a trap:
| Lane | Role | Purpose |
| Lane 1 | Anchor | Prevent flip |
| Lane 2 | Pressure | Damage + denial |
| Lane 3 | Mid control | Block rotation escape |
A spawn trap collapses when:
- The anchor dies
- Mid-lane is lost
- Pressure player overextends
The trap is three legs of a stool — remove one and the structure falls.
For players wanting to explore deeper BO7 tactics and gameplay features, the Black Ops 7 hub is a useful reference point.
How To Start a Spawn Trap Early
The best trap starts after the first gunfight — not before it.
Opening Steps:
- Win your first engagement
- Take two lanes quickly
- Stop pushing before the spawn line
- Hold tight angles, not deep chases
Most players make the mistake:
They clear the first wave and run straight into the enemy base.
Result → flip.
Better result → hold and let them run back into your sights.
Weapon Classes for Effective Spawn Traps
Spawn trapping rewards control and stability:
| Weapon Class | Best Role |
| LMGs | Lane denial |
| ARs | Long pressure |
| SMGs | Edge control & close punish |
| Marksman | Punish sprinting routes |
LMGs excel because:
- They hold choke-points longer
- Sustained fire punishes exits
- Enemies panic, hesitate, or reroute
But SMGs become your clean-up crew — fast pressure, immediate punish, and quick repositioning.
How Time-to-Kill Affects Spawn Traps
Because BO7 has a slightly tactical TTK, spawn traps rely on damage consistency rather than single bursts.
If you break armor and stop pushing?
The opponent has time to heal and reset.
If you apply pressure and chase too deep?
You flip spawns and lose trap control.
This balance makes spawn trapping a rhythm — not a sprint.
Communication — The Most Important Factor
A spawn trap isn’t a solo play; it’s a team pattern.
Players must call:
- One dead
- Two dead pushing left
- One slipped mid
- Flip potential
- Anchor down
- Playing safe — don’t push
The anchor player — often the least glamorous role — wins the trap. No anchor, no trap.
How to Avoid Unintentional Spawn Flips
Most flips happen because:
- Someone sprinted too deep
- A pressure player became greedy
- The anchor died but teammates kept pushing
- The trap went longer than safe
Key rule:
If you lose two teammates during a trap — reset immediately.
If you’re exploring progression-based options, rewards, or unlocks, many players browse offers through the broader MitchCactus marketplace as part of their BO7 experience.
Trap Variations and When to Use Them
Soft Trap
- Sit just outside spawn visibility
- Punish exits but don’t hold ADS constantly
- Best for maintaining long-term control
Hard Trap
- High pressure
- Constant damage
- Best used short-term to build score streaks
Rotation Trap
- Hold spawns only until next objective rotates
- Release trap after securing lane advantage
Some teams make the mistake of holding a trap too long, losing objective position before rotating.
Holding spawns is useful — but map control wins games.
Common Spawn Trapping Mistakes
1. Chasing kills behind cover
You force a flip — the trap collapses.
2. All players pushing same lane
You create an open side — they escape.
3. Not rotating after a wipe
You let them set up instead.
4. Not adjusting when they flank
A trap that doesn’t adapt dies instantly.
5. Forgetting timing
If an objective rotation hits, the trap becomes worthless.
Advanced Spawn Trap Adjustments
Delay Fire Instead of Spray
Controlled bursts = stronger accuracy and less recoil drift.
Fake Retreat
Back up for one second → they peek aggressively → punished.
Hold Crossfire Rather Than Solo
Two players watching one angle doubles success rate.
Break Line of Sight Intentionally
If enemies don’t see you, they may sprint out panicking.
Spawn traps are psychological — not just mechanical.
BO7 Spawn Trapping Strategies — Final Thoughts
So yep — mastering BO7 spawn trapping strategies isn’t simply about pushing enemies backward; it’s about controlling space, preventing flips, and applying pressure without breaking formation. Smart teams trap not for highlight clips, but to win tempo, delay healing, and secure objective rotation advantage.
Spawn traps require discipline: anchor positioning, lane control, smart aggression, and communication timing. Get those right, and BO7 becomes a controlled environment where the enemy reacts — not dictates. All good — now your spawn control IQ just went up.