


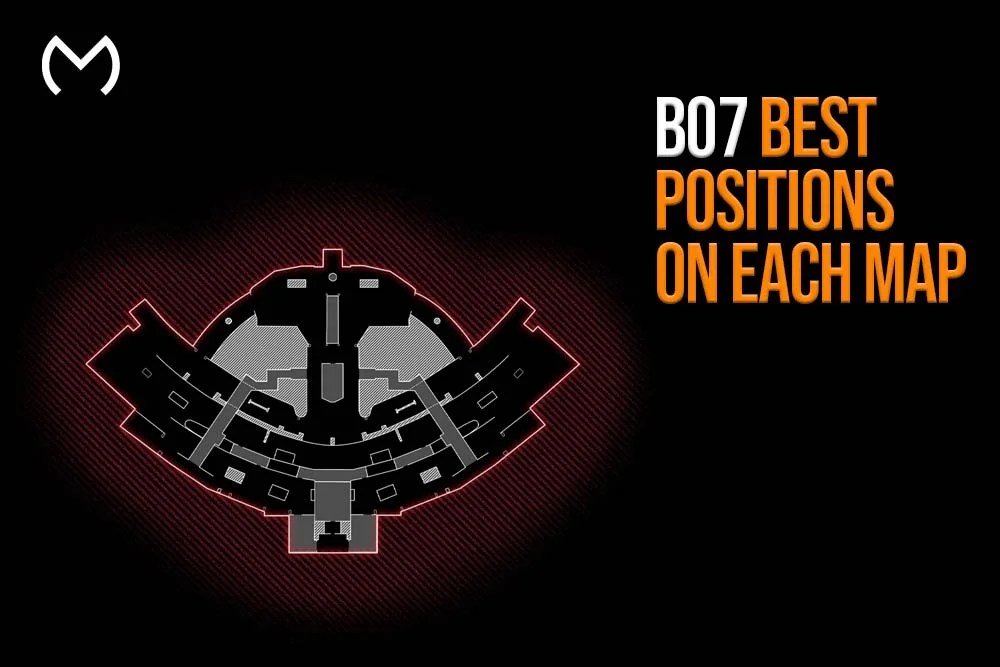
BO7 Best Positions on Each Map
If you’re looking for the BO7 best positions on each map and want a guide that helps you consistently win more gunfights — yep, you’re in the right place. Black Ops 7’s maps follow a tactical lane design that rewards positioning over pure reaction time. The best spots aren’t random — they’re built around power angles, crossfire positions, anchor holds, and elevated overwatch sightlines.
This guide doesn’t just name spots; it teaches you how to identify these positions on any BO7 map — whether you’re playing ranked, pubs, or objective-based modes.
Why Positioning Matters More in BO7
BO7 is slower and more tactical than arcade-style Call of Duty releases. That means players win:
- By holding strong headglitches
- By denying push directions
- By cutting rotations early
- By controlling mid-map chokepoints
The best positions create:
- Vision advantage
- First-shot opportunity
- Safety exit routes
- Faster rotations
- Predictable engagements
If you win the position, you often win the fight before bullets even fly.
BO7 Best Positions on Each Map: Types of Power Spots
The strongest positions in BO7 fall into clear categories. Once you recognize them, you’ll spot these locations on every map instantly.
1. Overwatch / Elevated Power Angles
These are platforms, balconies, staircases, or windows overlooking high-traffic lanes.
Why they’re powerful:
- Better view of enemy sprint routes
- You see more of them than they see of you
- Height reduces recoil perception
- Enemies must look up — delaying their first shot
When to use:
- Early round pressure
- Lane control
- Holding chokepoints
When not to use:
- If enemies have strong wallbang angles
- If your team pushes too far and flips spawns
Overwatch power angles are the “snipers nest” of BO7, even if you’re holding ARs.
2. Headglitch Cover Positions
These are boxes, desks, sandbags, vehicles, or half-walls where your head is visible but your body is hidden.
Why they matter:
- Reduced enemy hitbox visibility
- Stronger TTK perception
- Safer re-peeks
How to use correctly:
- Don’t crouch too low — stay ADS
- Pre-aim predictable sprint lines
- Swap sides after firing to avoid pattern reads
Headglitches aren’t cheesy — they’re positional fundamentals.
3. Crossfire Setup Lanes
These are positions that allow you to shoot players entering from two or more angles, often mid-map junctions or objective entrances.
Good crossfire positions give:
- Information
- Two-way damage opportunities
- Punish over-aggression
- Create confusion — “where was he?”
Best used when:
- Teammates cover the opposite angle
- You hold mid while others push sides
- Breaking or defending Hardpoint zones
Crossfire setups allow teams to delete opponents before they even touch objectives.
4. Anchor Points (Spawn Influence Positions)
Anchoring means holding a key location that prevents spawns from flipping.
Anchor positions:
- Are on the back edges of lanes
- Control spawn zones indirectly
- Do NOT require rushing
- Win games, not montages
Who should anchor?
- AR players
- LMG lane holders
- Anyone not relying on constant sprinting
Anchors create predictability — and predictability creates wins.
5. Cutoff Positions
Cutoffs don’t push into spawn — they intercept sprint routes.
Their purpose:
- Stop rotations
- Deny fast routes
- Punish side lane pushes
Why cutoffs win matches:
A single cutoff spot can make the enemy team take the long route — and those few seconds decide capture timers and streak potential.
Aggressive players often use cutoffs better than overwatch positions because timing matters more than height.
How to Identify the Best Position on ANY BO7 Map
The best spots on each BO7 map share the same traits:
| Trait | Advantage |
| Elevation | Vision / first bullet |
| Cover | Survival |
| Escape route | Second fight potential |
| Crossfire potential | Multi-angle control |
| Objective proximity | Winning the mode |
| Mid-map influence | Rotation advantage |
Walk the map once, and ask:
- Can I see without being seen?
- Do I have cover for retreat?
- Can I support teammates?
- Does this spot help objectives?
If yes to three or more — it’s a power position.
Best Positions for Ranked vs Casual Play
Ranked:
- Power positions turn into mandatory control spots
- Missed setups cost map momentum
- Team coordination multiplies value
Casual:
- Positions reward individual play
- Works even without communication
- Good players farm unaware rush routes
The same position can be defensive in ranked and aggressive in pubs — positioning shifts with tempo.
How to Break Enemy Power Positions
Every power spot has a counter — but most players rush head-on and lose.
Best ways to break positions:
- Stun → peek → repeat
- Smoke → rotate → pinch
- Pre-fire after audio cue
- Slide entry to offset timing
- Force them to re-peek, not you
Power spots win until someone forces them to move.
Common Positioning Mistakes Players Still Make
Staying too long
A power position only stays powerful if the enemy doesn’t expect it.
Re-peeking the same angle
Smart players pre-fire timing.
Challenging elevation head-on
Height wins unless you offset the angle.
Anchoring without support
A power spot alone is just a stall play.
Holding after objective rotation
Positioning must move with win conditions.
Using Marketplace Services and Setup Optimization
Players often explore BO7 progression tools, bundles, unlocks, and camos through the MitchCactus marketplace when building their playstyle around consistent map control.
Whether playing aggressively or as an anchor role, your class setup and unlock progression influence how effective these power positions become.
BO7 Best Positions on Each Map — Final Thoughts
So yep — understanding the BO7 best positions on each map isn’t about memorizing locations. It’s about recognizing layout patterns: elevation advantage, headglitches, cutoff angles, and anchor zones that influence spawns and objectives.
Once you learn to identify these patterns naturally, every new BO7 map becomes easier to understand and control — even on your first match. Great players don’t react to the map — they read it. All good — your positioning IQ just leveled up.


