







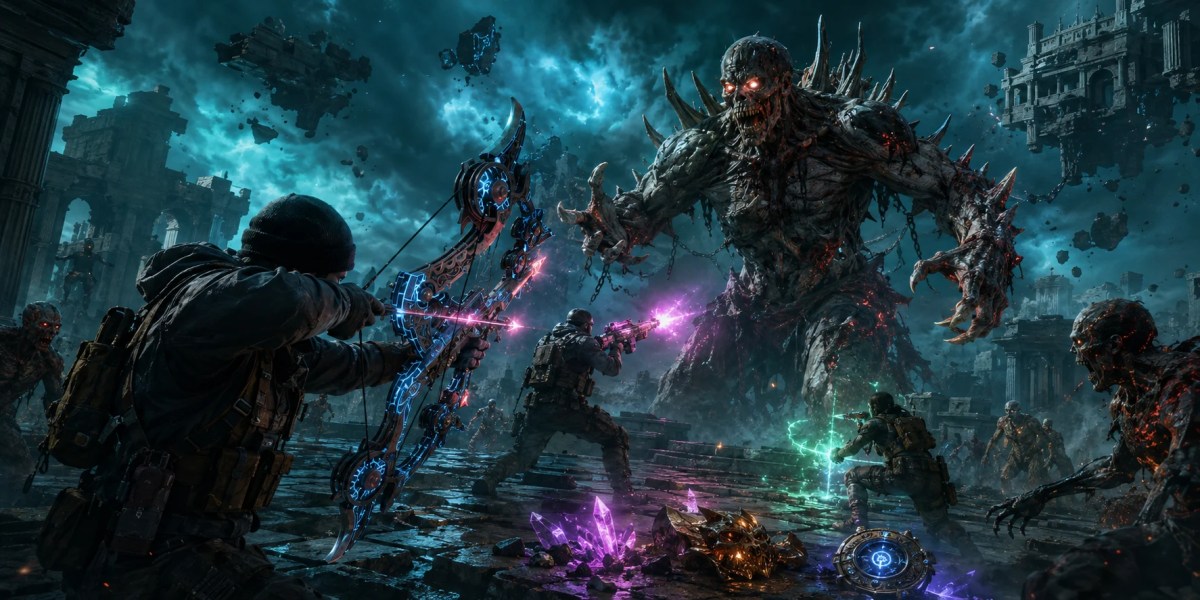
The Warden is fast, aggressive, and brutal in long fights. You need proper weapons, clear roles, and tight movement before you start the encounter. This BO7 Warden Boss Fight guide is built for the Rex Infernus finale.
What Makes The Warden So Hard
The Warden is one of the hardest fights in BO7 Zombies. He does not give you much space. He keeps chasing players across the arena. He also uses attacks that can knock you off the platform.
Falling off does not end the run instantly. You teleport back to the surface. Still, you take damage after returning.
You are not standing still and dumping ammo. You are breaking Dread Skulls first. Then you shoot the weak spot when it appears. That loop repeats across the fight. The Warden also changes pressure as phases move forward.
Best Weapon For Dread Skulls
Warden’s Blight should be your main tool for Dread Skulls. It is also a strong wonder weapon for clearing zombies. It can help destroy Stingers too.
Its homing behavior makes it useful when targets move around the Warden. That matters because the boss rarely stays friendly for clean aiming. Warden’s Blight also gives strong mobility value. That helps when the arena gets chaotic. The tradeoff is ammo. It can burn through reserves quickly.
Do not use it carelessly. Save it for moments that matter. Dread Skulls should be your top target with this weapon. That is a key rule in this BO7 Warden Boss Fight guide.
Best Boss Damage Weapons
You need a bullet weapon for critical damage. The Warden becomes vulnerable after the Dread Skulls are destroyed. His weak spot appears on the stinger. That is when your boss-damage weapon takes over.
| Weapon | Role | Build Code | Key Advantage |
| Mammoth | Heavy Support / Anchor | L10-8WQX5-H3531 | High raw output and sustained pressure for locking down lanes |
| M34 Novaline | Precision / Mobile Offense | M03-21WSP-DGAE5-Q911 | Superior handling and accuracy for fast-paced encounters |
Your bullet weapon should be saved for weak spot windows. Do not waste its best ammo on random zombies. The Warden’s Blight handles skulls. Your bullet weapon handles the exposed stinger.
Light Mend Ammo Mod
Light Mend is one of the strongest support picks for this fight. The Warden attacks often. Armor can feel unreliable because he keeps forcing direct pressure. Light Mend helps by giving health from zombie kills. That can keep you alive during messy phases.
Booster Shot is a useful major augment. It lets Healing Glyphs overcharge your health beyond 350. Express Remedy is useful for reach. It lets Healing Glyphs attach from farther away. Extra Strength gives stronger healing value.
Aether Shroud Setup
Aether Shroud is the safer field upgrade pick. It makes you invisible for a short window. It does not make you invincible. Use Aether Shroud when the Warden closes the gap. Use it when you need recovery time. Use it when boss damage is ready.
Group Shroud works well in co-op. Nearby allies also get cloaked. Afterimage is better for solo. It makes zombies cluster instead of spreading everywhere.
Extra Charge adds one more use. Extension makes the active window last longer. This BO7 Warden Boss Fight guide favors Aether Shroud for safe recovery.
Frenzied Guard Option
Frenzied Guard is riskier. It can still work if you play confidently. Frenzy Fire supports damage uptime. Dual Layer gives extra defensive value.Extension keeps it active longer.
The issue is zombie attention. It does not stop enemies from attacking like Aether Shroud does. That makes Aether Shroud better for most players. Use Frenzied Guard only if your team already controls the arena well. If revives are messy, take Shroud instead.
GobbleGums Worth Bringing
GobbleGums can keep a Warden run alive. You can use the following useful GobbleGums in the fight.
- Shields Up is useful when armor breaks at the worst time. It refills armor instantly. It also makes armor stronger.
- Power Keg is strong for field upgrade uptime. It gives a Full Power pickup.
- Aftertaste is better for solo runs. It helps you keep perks after self-revive.
- Near Death Experience is better in co-op. It supports revive chains near teammates.
How To Handle The Main Fight Loop
You should start by keeping distance from the Warden. Use the Void Claw whenever possible. Void Pedestals sit on opposite ends of the map. They refresh instantly. That makes Void Claw movement central to survival.
When Dread Skulls appear, destroy them fast. Warden’s Blight is ideal here. Once the weak spot appears, switch focus. Shoot the stinger with your bullet weapon. After the stun ends, move again. Find the next Dread Skulls. Repeat the loop. This is the core of the BO7 Warden Boss Fight guide.
Dangerous Phase Mechanics
The fight adds more problems after the basic loop. Shadow Souls can appear during the second phase. Destroy them quickly. They stop the weak spot from being exposed.
Stingers become dangerous later. They can charge a large AoE blast. Destroy them before the attack finishes.
The Warden can also resurrect after the first defeat. He returns with less than half health. Do not relax after the first kill. The fight is not over yet. Reset your spacing. Clear Shadow Souls first. Then return to the Dread Skull loop.
Jail Room And HVT Buffs
There is a jail room mechanic tied to first death. You may be teleported there after your first death. You can also be sent there during a later phase. Inside, you must defeat an HVT within the timer.
Success sends you back with a random buff. Durable can increase maximum health. Speedy can increase movement speed. Both buffs last one minute.
Failure is painful. You return with a curse instead. Ammo Drain is one possible curse. It drains weapon reserve ammo for 30 seconds. A second arena death does not send you back again. It eliminates you permanently.
Rewards And Completion Value
The supplied Warden fight info does not list separate Warden-only rewards. That means you should treat the Warden as the Rex Infernus finale gate. Beating him matters because it completes the boss section of the main quest.
The reward value comes from finishing the full Zombies finale. The fight is also a major skill clear for BO7 Zombies players.
For many players, the real reward is proving the run was clean. You beat the hardest part of Rex Infernus. You survived the pressure loop. You handled the resurrection phase. That is the clear this BO7 Warden Boss Fight guide is built around.
You can also check out our top BO7 Boosting Services:

Conclusion
The Warden fight is not about standing still and spraying.
Use Warden’s Blight for Dread Skulls. Use a bullet weapon for the stinger weak spot. Keep Void Claw active as much as possible.
Aether Shroud is the safer field upgrade. Light Mend keeps your health moving. Team roles make the fight far easier.
Struggling to get past the Warden and complete Rex Infernus? Explore BO7 progression services from MitchCactus. Level weapons through Bot Lobbies, push Zombies quests with Easter Egg boosting, or grab Double XP Codes for faster progression.
FAQs
Can you beat the Warden without perfect GobbleGums?
Yes, but mistakes become harder to recover from. Strong GobbleGums give backup during bad timing. They do not replace movement or target priority. A clean player with weaker gums can still win. A careless player with premium gums can still wipe.
Should one player carry the whole boss damage role?
It is safer to split damage responsibility. One strong player can lead the damage windows. Another player should still be ready to shoot when the weak spot appears. If the main damage player goes down, the squad still needs pressure.
Why does the Warden feel harder in solo?
Solo gives no revive backup from teammates. Every mistake matters more. You also handle skull pressure alone. The advantage is pacing control. You decide when to move. You decide when to use resources. Solo is cleaner, but less forgiving.
Is movement more important than raw damage?
Yes, because dead players deal no damage. The Warden punishes greedy shooting. Learn the arena first. Use Void Claw often. Shoot only when the weak spot is exposed. Good movement keeps the fight stable long enough to finish damage windows.