







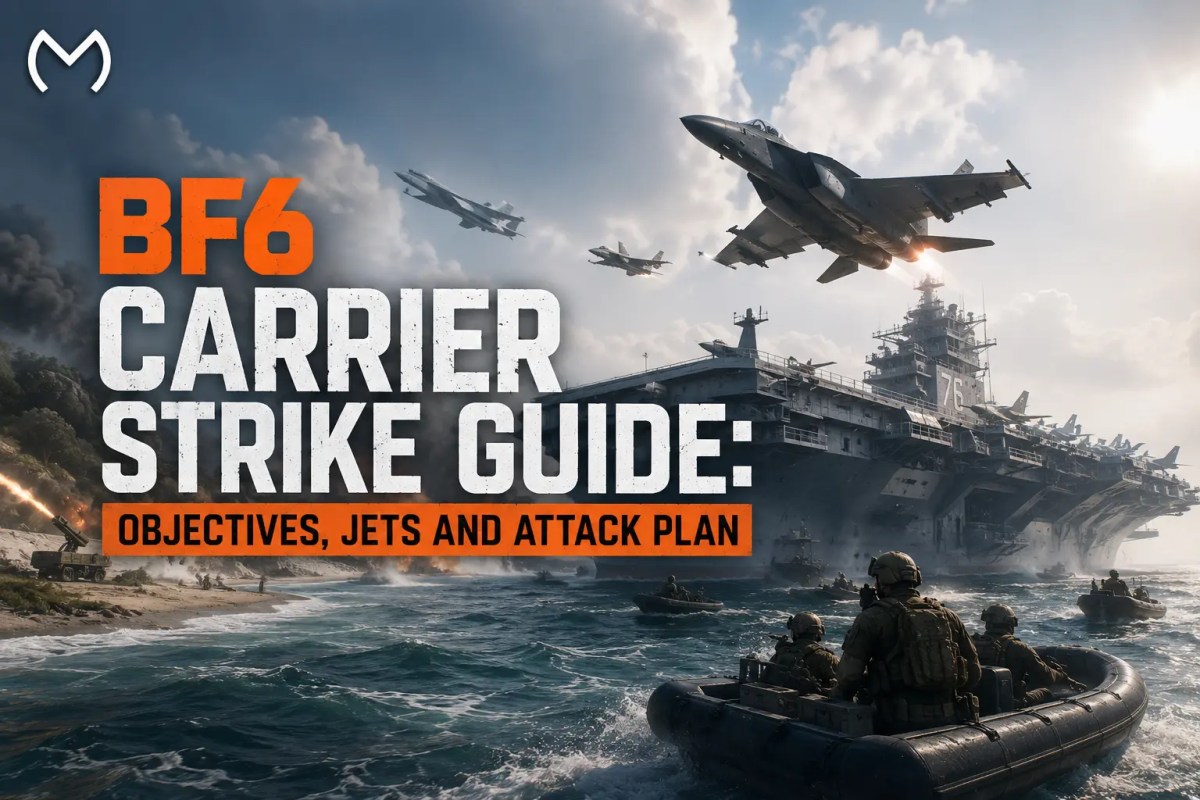
Carrier Strike punishes teams that treat it like normal Conquest. Holding sectors matters, but the real goal is damaging the enemy carrier before your own reaches zero health. The best plan is to control the missile batteries, add direct vehicle damage, then commit to the carrier once it enters its critical state.
EA has confirmed a 32v32 single round match with a 30 minute timer. Five Strategic Surface to Surface Missile batteries sit across Tsuru Reef. They fire on the enemy carrier every 15 seconds while controlled, and the final assault opens when a carrier falls to 50 percent health.
How Carrier Strike Is Won
Carrier Strike gives teams more than one path to victory, so understanding the win conditions matters before deciding where your squad should commit resources. The table below shows when each route becomes relevant and what your team needs to accomplish.
| Win condition | What it means |
| Reduce carrier HP to zero | Damage it with SSM strikes and direct fire |
| Destroy both carrier M-COMs | Available once the carrier reaches its critical state |
| Lead on carrier health at 30 minutes | Highest remaining carrier health wins |
The SSM sites work like Conquest objectives. Capture them and keep them long enough to generate repeated missile salvos. If ownership changes, the firing cooldown resets, so stealing a battery just before it launches can deny damage.
Holding the majority of SSM batteries also activates automatic anti aircraft emplacements for your side. EA explains the full system in its official Carrier Strike Mode Guide.
The Best Attack Flow
Carrier Strike works best in three stages.
Stage 1: Win the Missile Network
Start by fighting for SSM control. Holding three sites gives your team the majority and automatic AA support. Do not send every squad to the same battery. Keep one mobile squad ready to recover threatened sites and protect the 15 second firing cycle.
Stage 2: Add Direct Carrier Damage
You do not have to wait for SSM batteries to do all the work. Before the critical state, the enemy carrier can also take direct damage from jet bombs, explosives, tank ammunition and shoulder fired launchers.
Jet bombs matter most because EA says they can deal as much carrier damage as an SSM strike. Your best air to ground pilot should focus on clean bombing passes once friendly SSM control has reduced enemy air pressure.
Want stronger vehicles and faster Top Gun progression? Explore these BF6 services


If vehicle progression is holding back your jet or armor options, Explore Battlefield 6 Vehicle Level boosting for fighter, attack jet, helicopter and ground vehicle mastery through regular gameplay.
Stage 3: Breach the Carrier at 50 Percent
At 50 percent health, the carrier enters its critical state. The first M-COM room becomes accessible from the water, while defenders can reach it quickly from their Headquarters spawn.
Attackers need a real insertion here. Boat crews should move infantry close enough to create squad spawns or place a Spawn Beacon near the carrier. Once the first M-COM is destroyed, blast doors open toward the second M-COM in the reactor room.
Destroying both M-COMs ends the match immediately.
Jet Strategy: Play for Carrier Damage
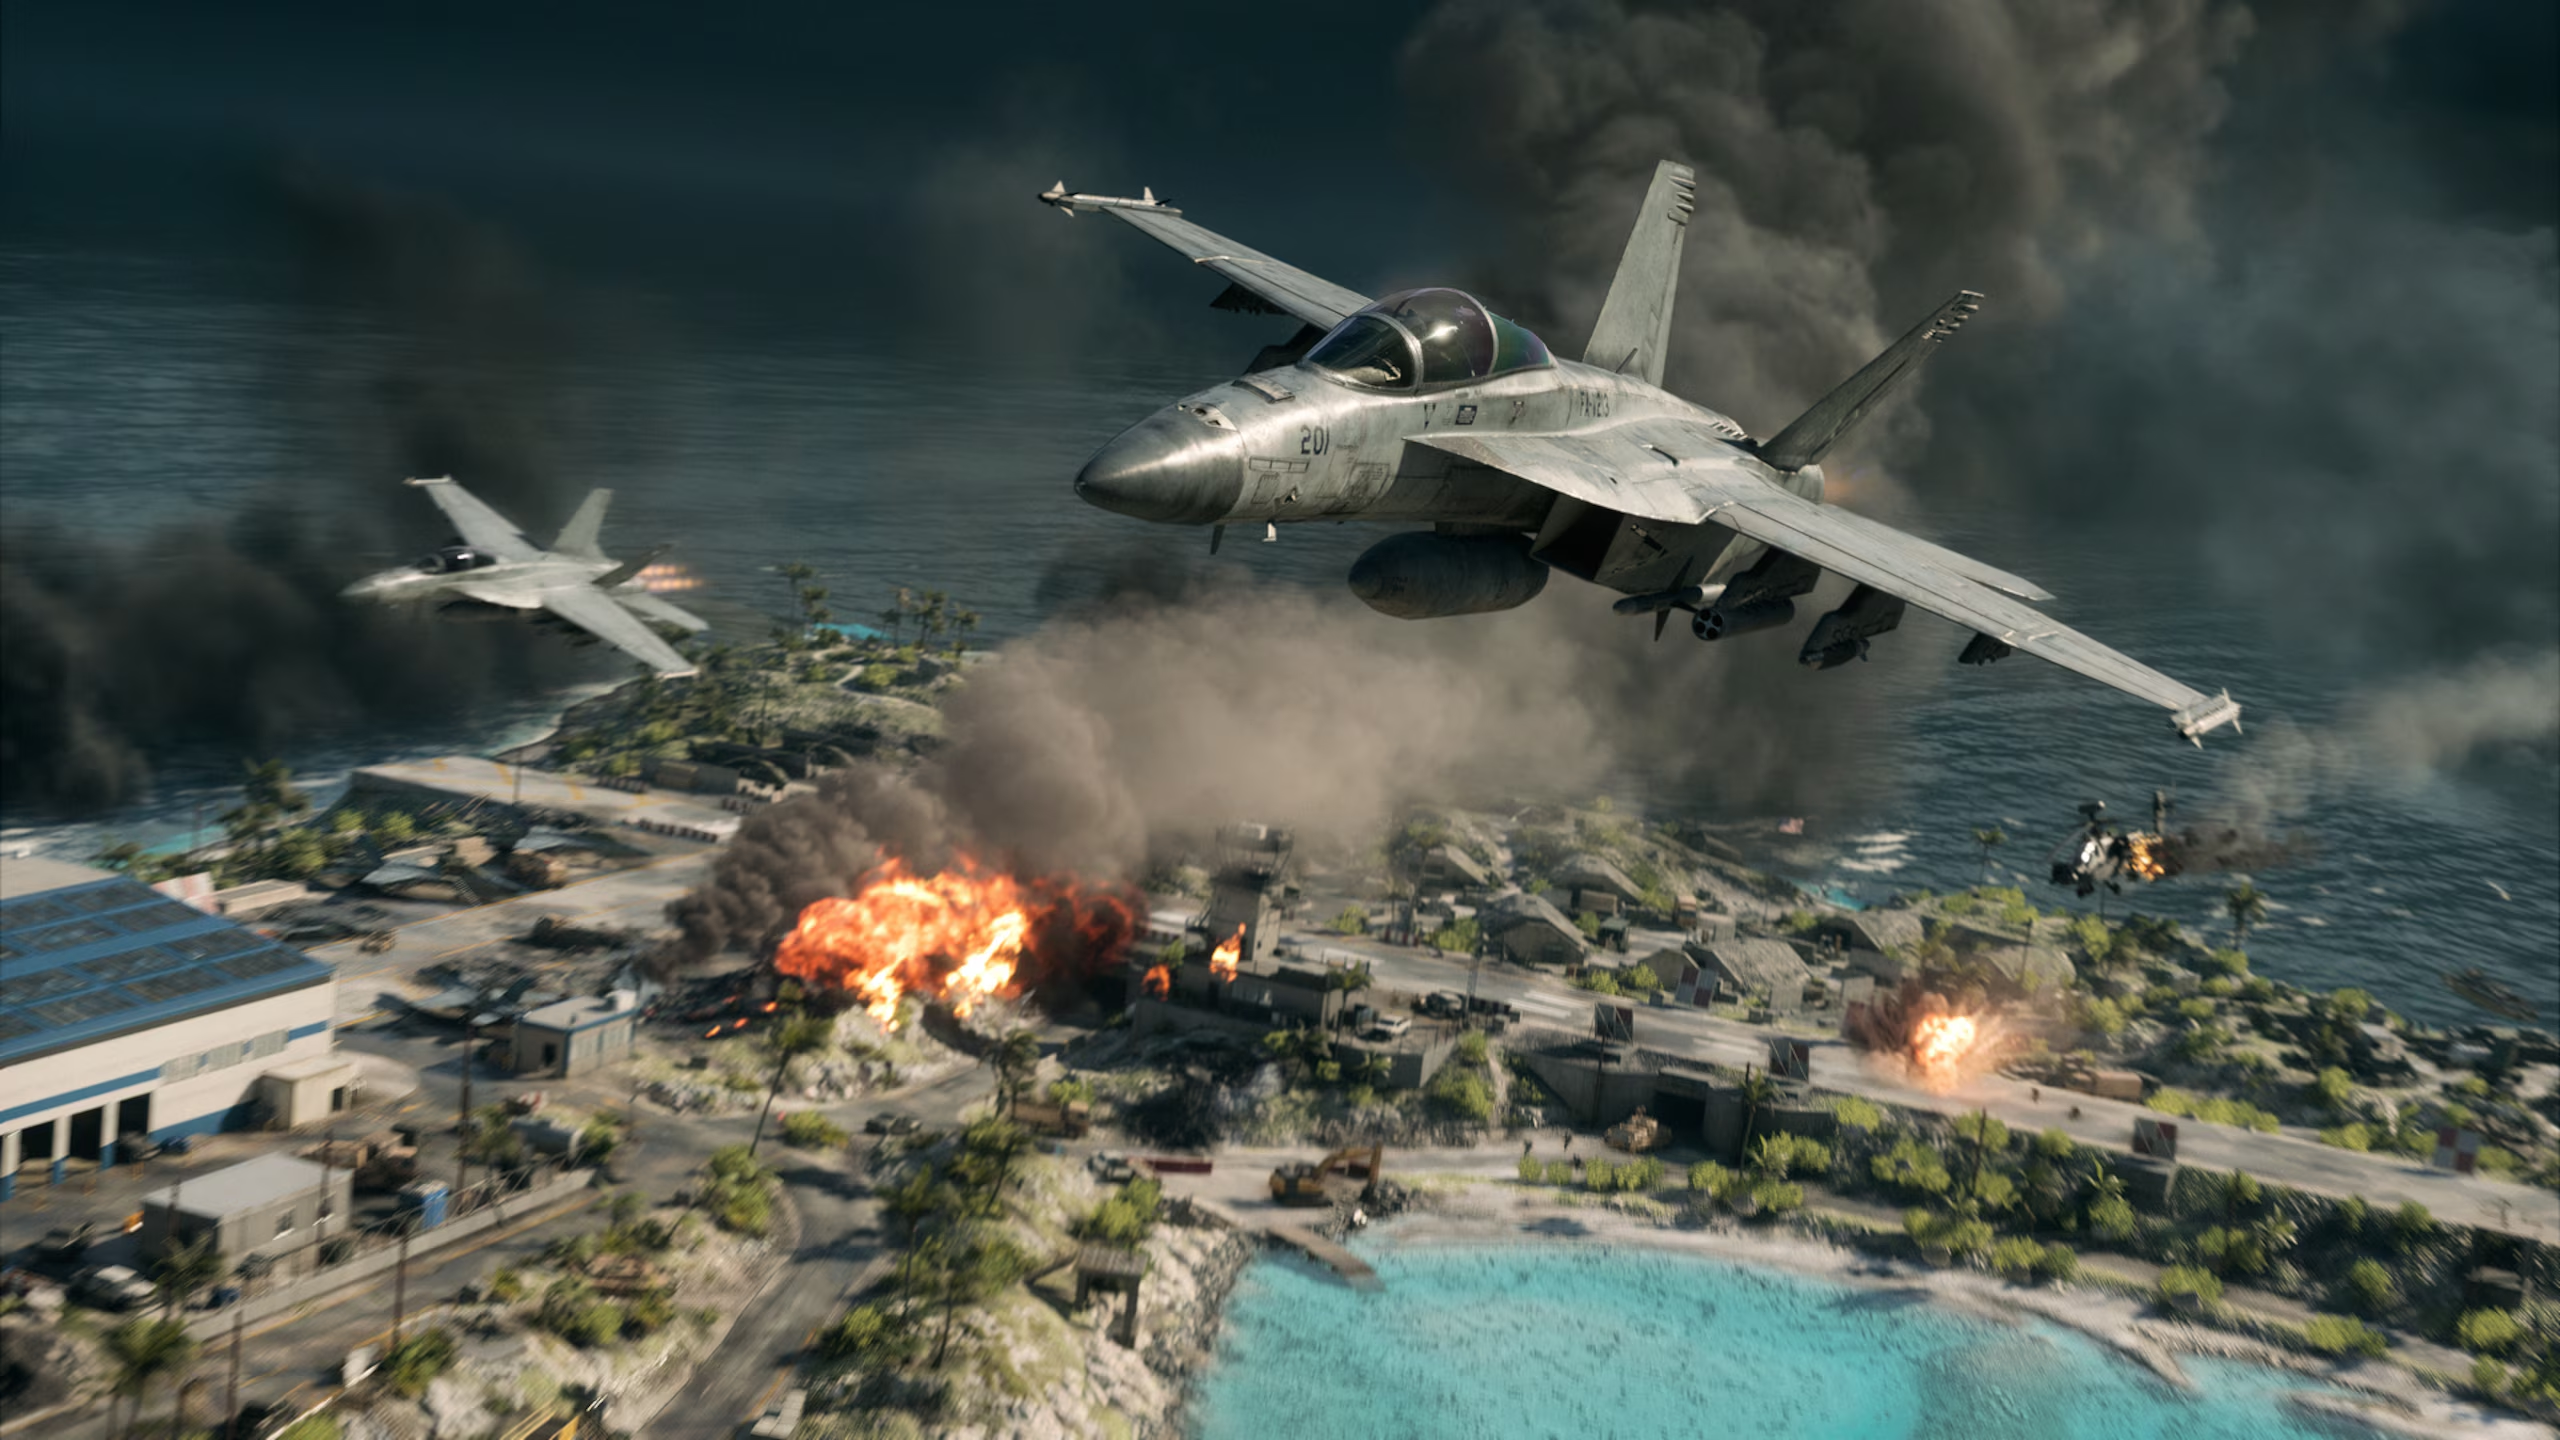
Pilots have two jobs: keep enemy aircraft away from friendly forces and create carrier damage windows.
For attack runs:
- Clear or avoid enemy AA before committing.
- Prioritize accurate bomb drops over repeated low value strafing.
- Break away after each pass instead of circling over the deck.
- Return to air defense when enemy pilots start pressuring your SSM network.
The Top Gun update adds the two seat F/A-81F Super Spectre and F-74A Seacat. EA has not yet published the complete mode specific vehicle allotment, so do not assume every Season 4 vehicle will appear in each Carrier Strike match before the live roster is confirmed.
Naval Squads Create the Final Opening
Boats connect SSM control, shoreline pressure and the final carrier assault.
Early in the round, naval squads can move infantry between objectives without following the same land lanes as the enemy. Once the carrier becomes critical, water access becomes the key route into the first M-COM room.
Dynamic waves can disrupt aim and movement, so keep boats moving instead of sitting broadside in open water. The BF6 Naval Warfare guide covers RCB-90 and RHIB handling, wave timing and coastal movement in more detail.
Infantry Priorities Change Mid Match
Before the enemy carrier reaches 50 percent, infantry should focus on SSM captures, anti vehicle pressure and forward spawn control.
Once the carrier becomes critical, attackers need bodies inside the ship. Defenders need to collapse around the M-COM room and water approaches. Continuing to fight over a distant battery while the reactor is being breached can throw away a lead.
Recon Spawn Beacons become especially useful near the carrier because they help maintain pressure without forcing attackers to restart the entire approach after every death.
Carrier Strike Is on Tsuru Reef, Not Wake Island
Wake Island arrives in the same Top Gun update and features carrier based Headquarters, naval routes and heavy air combat.
However, EA’s dedicated Carrier Strike guide identifies Tsuru Reef as the mode’s battlefield. The Season 4 roadmap also says expanded Tsuru Reef gains playable aircraft carriers for Carrier Strike.
That distinction matters because some early previews connect the mode too closely with Wake Island. Use Wake Island to learn coastal combat, but do not treat its objectives as Carrier Strike SSM locations.
Quick Squad Rules
Carrier Strike can change from an objective fight into a carrier assault very quickly, so these rules are meant to keep a squad focused when the battlefield becomes chaotic. Following them helps prevent common mistakes such as overcommitting to one SSM site, wasting air power, or reacting too late when the enemy carrier reaches its critical state.
- Hold the majority of SSM sites instead of chasing all five. Three controlled batteries are enough to secure the majority and activate automatic AA support, so spreading too thin can make important sites easier to lose.
- Recapture batteries before their next 15 second salvo when possible. Taking a site before it fires can deny an incoming missile strike and reset its firing cycle.
- Give your best air to ground pilot the carrier bombing role. Accurate jet bombs can add major direct carrier damage, while less experienced pilots can focus on air defense and supporting the SSM network.
- Establish a forward spawn before the critical phase. A Spawn Beacon or nearby squad spawn reduces the time attackers lose repeating the water approach once the first M-COM room becomes accessible.
- Push the second M-COM immediately after the first is destroyed. The opened blast doors create a short opportunity to keep defenders under pressure before they can fully reorganize around the reactor room.
These priorities matter because Carrier Strike rewards teams that change objectives at the correct moment. A squad that keeps fighting the same battle after the carrier enters its critical state can lose despite controlling most of the map earlier in the round.
Live Verification Note
EA has already confirmed the 32v32 format, 30 minute timer, five SSM batteries, 15 second missile cycle, direct carrier damage, 50 percent critical state and two M-COM finish.
The exact live vehicle allotment, spawn tuning and any launch balance changes still need a final check once the mode becomes playable.
Conclusion
Carrier Strike is won by changing priorities at the right time. Control the SSM network first, add direct carrier damage with vehicles, then shift hard toward the M-COM assault at 50 percent health.
Infantry secures the missile network, pilots create damage windows, naval players move the assault force, and the whole team converges on the carrier when the reactor becomes vulnerable.
Frequently Asked Questions
How many players are in Battlefield 6 Carrier Strike?
Carrier Strike is a 32v32 mode with 64 players in one round.
How do you damage the enemy carrier?
Control SSM batteries for missile strikes or deal direct damage with jet bombs, explosives, tank ammunition and shoulder fired launchers.
When can you access the carrier M-COM rooms?
The first M-COM room opens when the carrier reaches 50 percent health and enters its critical state.
How many SSM batteries are in Carrier Strike?
There are five. Holding the majority also gives your team automatic anti aircraft support.
Is Carrier Strike played on Wake Island?
EA’s dedicated mode guide places Carrier Strike on expanded Tsuru Reef. Wake Island launches in the same update but is a separate map with carrier based HQs.