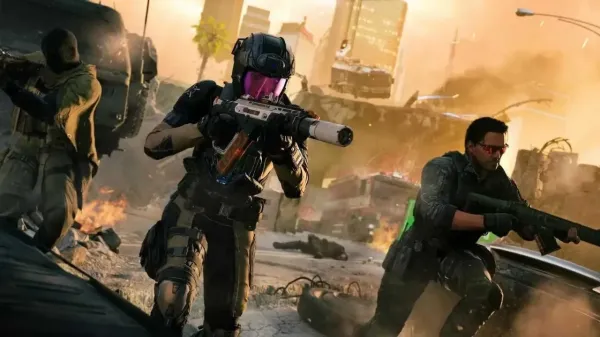





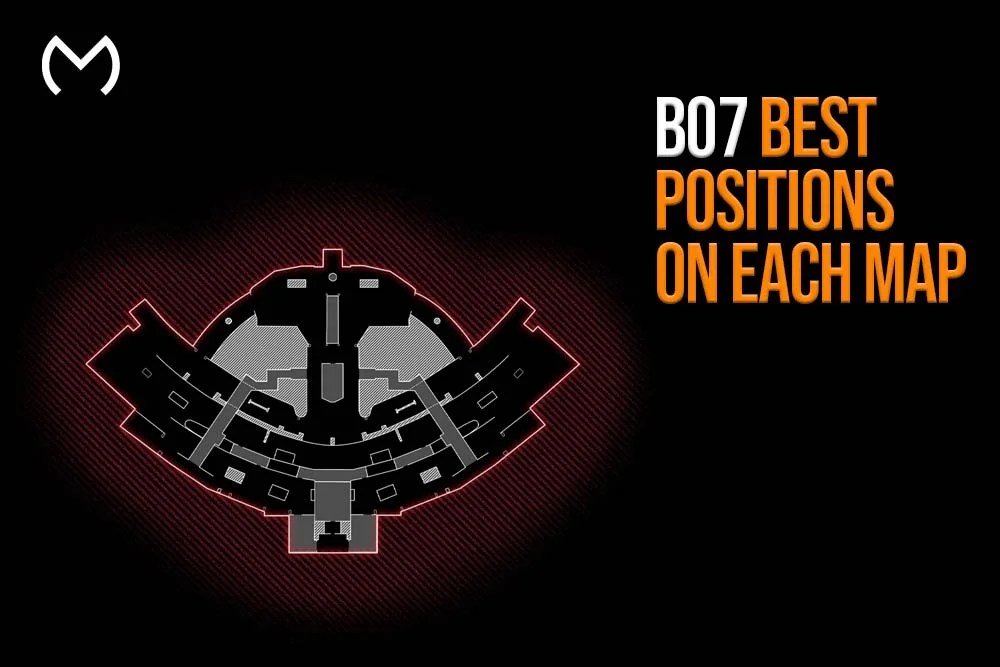
The BO7 best positions are not always the highest windows or deepest corners. A useful power spot gives you cover, a clear lane, an exit route, and influence over the objective or next rotation.
Black Ops 7 now has more than 30 Multiplayer maps, so learning why a position works matters more than memorizing one fixed list.
Why Positioning Matters More in BO7
BO7 supports fast movement and wall jumps, but its lanes, vertical routes, chokepoints, and objectives still reward players who reach the stronger angle first.
Good positions help you:
- Hide most of your hitbox
- Deny a push or flank
- Cut an objective rotation
- Protect useful spawns
- Take the first shot and escape the trade
If you control the right position, you often shape the fight before either player fires.
BO7 Best Positions on Each Map: Types of Power Spots
1. Overwatch and Elevated Power Angles
Balconies, rooftops, and windows reveal busy lanes while limiting your exposure. Use them for early pressure, then move once opponents start pre-aiming or flanking.
2. Headglitch Cover Positions
Boxes, vehicles, and half-walls hide most of your body. Pre-aim the likely route, change sides after firing, and avoid repeating the same peek.
3. Crossfire Setup Lanes
A crossfire places teammates on different angles against the same route, creating information, trades, and stronger objective defense.
4. Anchor Points and Spawn Influence
An anchor protects the side your team needs for favorable spawns. AR players suit this role, but pushing too far can flip the spawns you wanted.
5. Cutoff Positions
Cutoffs intercept rotations without forcing you deep into enemy spawn. Even a short delay can decide Hardpoint time or a Domination capture.
Best Power Positions on Key BO7 Maps
These examples follow the official BO7 tactical map guides and show how the main position types work on six competitive layouts.
| Map | Strong Position | What It Controls | Main Risk |
|---|---|---|---|
| Blackheart | Crates beside the “Stand Clear” platform on the Barge side | The lane toward the Diving Bell with less exposure to Comms | A flank around the curved Diving Bell route |
| Colossus | Central Overlook or the raised yellow crates near Wreckage | Maintenance, Loading Bay, Atrium, and the Lifeboat-to-Container lane | Security routes and pressure from Maintenance |
| Den | The broken Breach wall above Driveway | A clear view across Courtyard toward the Microchip Lab side | Climbers from Courtyard or the short staircase |
| Exposure | Upper Control Room, Tower platform, or Salt Storage walkway | The main elevated power triangle and nearby objectives | Players holding another upper position |
| Raid | Bedroom above Pool with an Office-to-Kitchen pivot | Pool pressure, teammate support, and a fast lane change | Back stairs and pressure from Courtyard |
| Scar | Wood Shop windows or the Post Office roof | Crash Site, Trench, Main Street, and the Motel approach | Overexposure and the interior staircase |
The opening BO7 competitive map pool shows which of these maps supported Hardpoint, Search and Destroy, and Overload. Use that mode context before deciding whether a power spot should serve as an anchor, cutoff, or objective hold.
For a visual overview of the launch layouts, the IGN launch-map flythrough helps connect these lane names to the full maps.
How to Identify the Best Position on Any BO7 Map
| Trait | Advantage |
|---|---|
| Elevation | Earlier vision and a cleaner first shot |
| Hard cover | Better survival and safer re-peeks |
| Exit route | A chance to avoid the trade |
| Crossfire potential | Support from a second angle |
| Objective proximity | Direct influence on the mode |
| Mid-map access | Faster lane changes and rotations |
Ask five questions:
- Can I watch a useful route without exposing my full body?
- Can I retreat after one kill?
- Can a teammate trade me?
- Does the angle protect the objective, rotation, or spawn?
- Can the enemy easily pre-fire or wallbang it?
A spot that passes at least three checks usually has value. Still, the best position changes as objectives and spawns move.
The same logic carries into larger spaces. The Haven’s Hollow Resurgence layout also rewards rooftop control, safe rotations, and early cutoffs, although circles and third-party teams change the timing.
Best Positions for Ranked vs Casual Play
Ranked Play
Ranked positions support a planned setup. Teams need coverage for the objective, lane, cutoff, and spawn side. Use the spot to create trades, then leave when the hill moves or the enemy gains enough information to counter it.
Casual Play
Public matches have less predictable routes and weaker communication. Choose positions with two exits and avoid spots that need a teammate to protect your back.
The same spot can act as a defensive anchor in Ranked and an aggressive cutoff in pubs.
How to Break Enemy Power Positions
Do not challenge the strongest part of the angle repeatedly. Instead:
- Stun the position before swinging
- Smoke the sightline and change lanes
- Pre-fire a predictable re-peek
- Pin the player while a teammate flanks
- Use a wall jump or slide to change entry timing
- Force the defender to leave the spot
Common Positioning Mistakes Players Still Make
Staying Too Long
After several fights, expect grenades or a flank. Move first.
Re-peeking the Same Angle
Change height, switch sides, or take another route.
Challenging Elevation Head-On
Block the sightline or attack from a second angle.
Anchoring Without Support
An anchor still needs teammates to protect its approach routes.
Holding After the Objective Rotates
Rotate early when the spot no longer affects the objective.
Using Marketplace Services and Setup Optimization
Map knowledge comes first. The wider game marketplace remains available for players comparing unlocks, accounts, and progression options across different titles.
For BO7-specific camos, challenges, ranks, and account progression, use the Black Ops 7 progression hub.
Check out some of our most popular Boosting services:


BO7 Best Positions on Each Map — Final Thoughts
Understanding the BO7 best positions on each map is less about staying in one famous window and more about reading cover, elevation, rotations, and spawn influence.
Use these examples as starting points, then move when the objective changes or the enemy identifies your angle.
BO7 Map Positioning FAQs
What is a power position in Black Ops 7?
It is a spot with a useful sightline, solid cover, and control over an objective route, rotation, or spawn area. The best positions also provide an exit after the fight.
Which BO7 positions work best for Assault Rifles?
AR players benefit from elevated lanes, headglitches, and anchor spots with medium-to-long sightlines. Colossus Overlook, Raid Bedroom, and Scar’s Wood Shop are strong examples.
How do you hold spawns in BO7 Hardpoint?
Rotate early, control the useful side of the next hill, and stop enemies from crossing into the back area. Avoid pushing deep enough to flip your team away from those spawns.
How do you beat a player holding a headglitch?
Use a stun, smoke, explosive, pre-fire, flank, or movement change. Repeating the same open challenge gives the defender another first-shot advantage.
Do the best BO7 positions change by mode?
Yes. Hardpoint values rotations and spawn influence, Search and Destroy rewards information and crossfires, while Domination favors positions that protect flags and connecting routes.