




If you are curious about how the tier system works, this BO7 Cursed Relics Guide explains which relics from different maps you should prioritize and how to create a strong setup with as few drawbacks as possible.
The Cursed mode has made Call of Duty: Black Ops 7 Zombies much more challenging. It now includes 5 new maps and around 30 new relics in total, making it very difficult to unlock everything in a single map.
When it comes to surviving higher rounds, reaching Cursed tier III requires you to equip relics from all three tiers. You cannot just choose the relics that give you useful benefits; instead, you must decide which drawbacks you’re willing to accept while building the strongest possible setup.
How the Cursed Tier Meter Actually Works
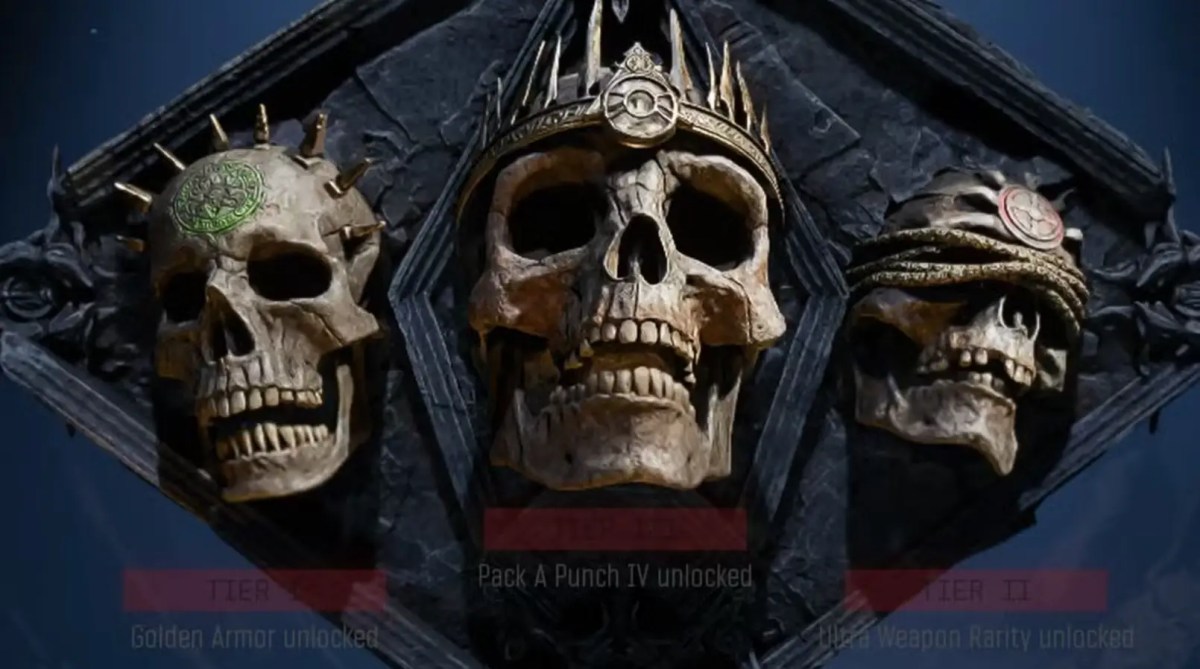
The Cursed Tier Meter is the main mechanic in the Cursed mode. The meter controls the difficulty modifiers that you have to face and the rewards you can earn at the end of the game. The Cursed Tier Meter requires 9 points in total, split across three milestones of 3 points each. Tier 1 unlocks Golden Body Armor, Tier 2 unlocks Ultra Weapon Rarity, and Tier 3 unlocks Pack-a-Punch Level 4. The progress you gain depends directly on the relic’s difficulty tier. A relic’s power or gameplay rarity does not change within its assigned tier.
One of the common mistakes that players make is to equip several low-level relics and assume that they are going to be enough to reach the highest rewards. Only using the Grim relics to reach Tier III will limit your rewards, no matter how many of them you use. You need at least one relic from each of the three tiers equipped. You also can’t change relics during the run once they are locked.
The meter is divided into three main levels:
- Grim Relics: The first one-third of the meter is filled by these, adding small environmental changes or rule adjustments that are highly manageable from Round 20+.
- Sinister Relics: This further fills the meter to the two-thirds mark. The difficulty and restrictions increase here, and can start putting more pressure on your setup around Round 40+.
- Wicked Relics: This fills the rest of the meter to complete it. The penalties here get extremely difficult and can significantly change how you run plays out, especially around Round 60+.
Which Relics to Prioritize Across Maps
It can take a lot of time to unlock all 5 maps and 30 Relics, so the best thing to do is to unlock the most useful ones first. Currently, the two lowest-drawback and highest-value relics in the game are Teddy Bear and Druid Stone. If you are looking for specific Black Ops 7 Cursed Mode content, you can jump right into the specific MitchCactus BO7 Zombies Relics Guide to see the full unlock steps and locations for all 30 items hidden across the maps. Here is a list of 8 selected example relics in all 5 current maps:
| Relic | Map | Tier | In-Game Effect |
|---|---|---|---|
| Teddy Bear | Ashes of the Damned | Grim | Round start delay is cut by 75%. |
| Druid Stone | Kowakujo | Grim | Grants an instant, automatic self-revive the exact moment you fall. |
| Rocket | Paradox Junction | Grim | Offers a very safe 1-point contribution to build your pre-game difficulty bar with zero penalties to primary weapon damage or player health mechanics. |
| Seed | Astra Malorum | Grim | Streamlines in-match financial spending by eliminating box-gambling distractions, forcing clean investment into Wall-buys and Armour stations. |
| Wrestling Belt | Totenreich | Grim | Introduces early-game opportunities to encounter high-tier randomized weapon classes on wall nodes before standard round milestones allow them. |
| Vril Sphere | Ashes of the Damned | Sinister | Adds a hefty 2-point progression weight directly toward high-tier rewards like Pack-a-Punch Level 4 while sparing your health mechanics. |
| Focusing stone | Ashes of the Damned | Sinister | Ideal for high-skill survivalists looking to maximize meter thresholds while retaining full access to standard Armor upgrading stations. |
| Mangler Helmet | Paradox Junction | Wicked | Instantly maxes out a full 3-point segment of your difficulty meter with a single loadout slot configuration. |
For those looking for step-by-step environmental triggers for a single map, check out our guide on “All BO7 Zombies Relics: How to Unlock Every Relic” covering the full 9-relic unlock steps specifically for Ashes of the Damned.
The Meta Low-Drawback Setup
- The Foundation Grim: Start with the Teddy Bear and Druid Stone. The Teddy Bear will make the game move faster by reducing the time between games; meanwhile, the Druid Stone gives you extra safety with its instant self-revive ability.
- The Secondary Buffer (Grim): Adding the Rocket from Paradox Junction will disable Scorestreaks, but for high-round Zombies strategies, this is not a major problem since wonder weapons and trained traps do most of the work.
- The Compromise (Sinister): As your Sinister relic, use the Vril Sphere. It can be difficult to stay limited to 4 perks, but it’s still a better option than the Focusing Stone, which removes your ability to use Self Revive kits. It is important to choose your 4 main perks carefully, such as Juggernog, Speed Cola, Quick Revive, and Stamin-up.
- The Final Push (Wicked): You have to accept a bigger drawback here. Make sure you fully upgrade your weapons and armor at the Arsenal if you choose the Mangler Helmet. Otherwise, you will have to depend on high-tier Mystery Box spins and wall buys for better equipment.
Combining the Vril Sphere and Mangler Helmet creates a much harder setup because their penalties work against each other. The Mangler Helmet disables the Arsenal, preventing armor and weapon rarity upgrades, while the Vril Sphere limits you to just four perks. Together, you face late-game rounds with weaker weapons, lower-tier armor, and fewer defensive perks, leaving very little room for mistakes.
What’s Still Unsolved
A lot of mysteries still remain unsolved even after the community has discovered most of the game’s secrets. One of the mysteries is the Wrestling Belt from Totenreich, which has been confirmed to exist, but there is no evidence of a working method to unlock it yet. Its effect is already known: it randomizes wall-buys at the beginning of each round. However, the exact way to unlock the relic is still unknown.
FAQs
Do relics carry over between maps?
Yes. Once you unlock a relic on a specific map, it is permanently added to your global collection. You can equip a relic unlocked in Kowakujo or Paradox Junction and use it during a run on Ashes of the Damned.
Can you change your equipped relics mid-run?
No. Your relic loadout must be selected in the pre-game lobby screen. Once the match initializes, your choices are locked in for the entirety of that run.
What happens if you don’t reach Tier III?
If your combined active relics only fill the meter to Tier I or Tier II, you will still experience the respective gameplay modifiers, but your end-match XP multipliers and rare cosmetic reward drops will be significantly reduced.
Conclusion
It is best to unlock the Teddy Bear and Druid Stone first, as they provide strong survival benefits without adding too many difficult drawbacks. Players must complete a map’s Main Easter Egg in Standard, Cursed, or Directed Mode before its Cursed Relics can be unlocked. Specific side quests and progression requirements, such as using certain ammo mods or loadouts, may also be needed for individual relics. If you do not want to spend hours completing difficult, round-based easter eggs to get the relics you want, you can also look into the MitchCactus BO7 Cursed Relics Service to instantly add them to your account.
Check out some of our most popular Boosting services: