




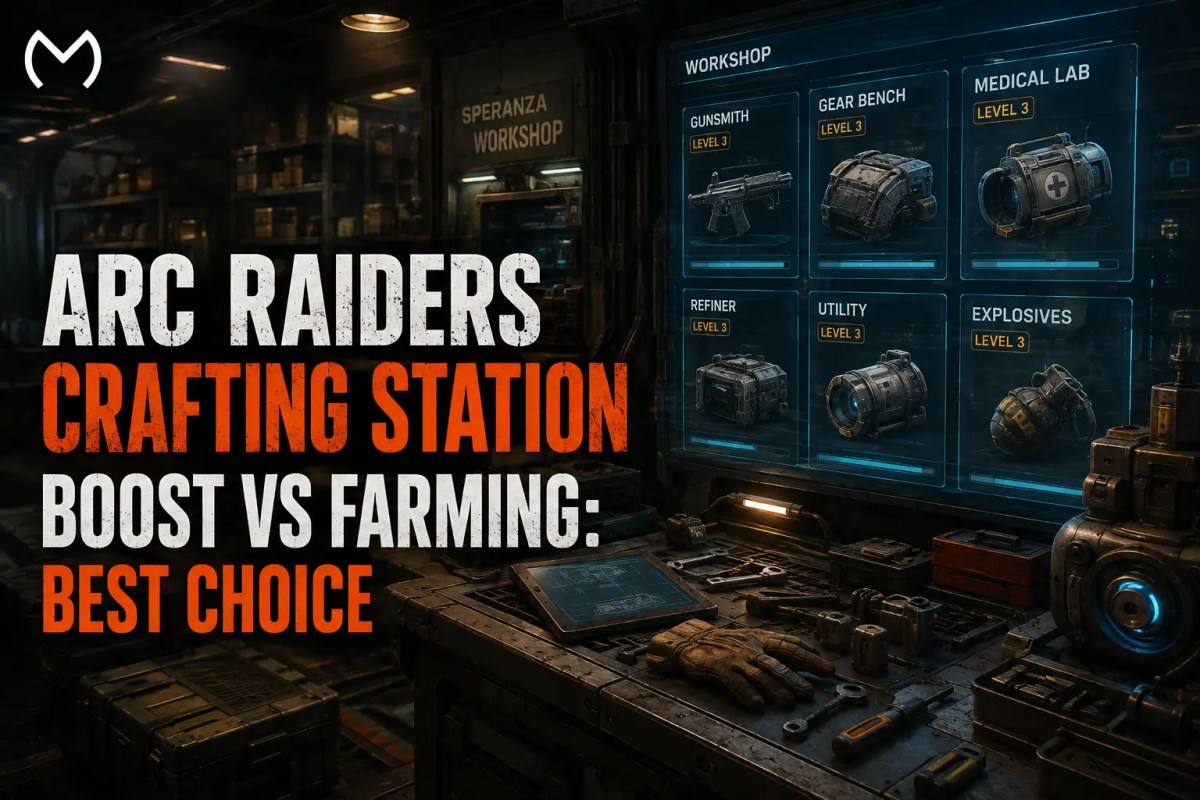
If one Level 3 bench is blocking gear you actually use, farm that station yourself. If several benches are behind and your playtime is limited, a Crafting Station Boost is the faster route. Do not max everything without checking your Expedition plan, because Workshop progress resets when your Raider departs.
For most players, Refiner Level 2 should come first, followed by Gunsmith and Gear Bench, then Medical Lab. Utility and Explosives move up when their recipes match your build.
Self Farming or Boosting: The Quick Decision
| Factor | Self Farming | Crafting Station Boost |
| Time | Variable, based on drops and successful extracts | About 1 to 3 days listed by MitchCactus |
| Control | You choose every route and upgrade | Service completes selected station goals |
| Account access | Normal account control stays with you | Account login is required for the service |
| Cost | No service fee | Paid, based on selected stations |
| Best for | Active players who enjoy progression | Time-limited players or several blocked benches |
There is no reliable fixed hour count for self farming. One station can finish quickly if its rare parts are already in your stash, while multiple Level 3 benches can stretch across many successful raids.
Which Crafting Stations Give the Most Value First?
1. Refiner Level 2
Refiner Level 2 needs 3 Toasters, 5 ARC Motion Cores and 8 Fireball Burners. It is the best general progression unlock because it lets you turn common resources into higher-tier materials used across other Workshop upgrades.
2. Gunsmith Level 2
Gunsmith Level 2 needs 3 Rusted Tools, 5 Mechanical Components and 8 Wasp Drivers. It opens stronger weapon and attachment options, helping later material runs feel less punishing.
3. Gear Bench Level 2
Gear Bench Level 2 needs 3 Power Cables, 5 Electrical Components and 5 Hornet Drivers. It unlocks Mk. 2 augments and the Heavy Shield, giving it immediate value for players who regularly lose valuable loot during difficult extracts.
4. Medical Lab Level 2
Medical Lab Level 2 needs 2 Cracked Bioscanners, 5 Durable Cloth and 8 Tick Pods. Defibrillators, Sterilized Bandages and Surge Shield Rechargers make it the next strong survival upgrade.
Utility Level 2 is useful for Smoke Grenades, Lure Grenades, Raider Hatch Keys and Ziplines. Explosives becomes more attractive later, especially when you have blueprints for higher-tier grenades or Wolfpacks.
If several stations are blocking progression at once, Explore ARC Raiders Crafting Station boost after checking which benches you actually need. The service currently lets you select individual stations or an all-stations option.
Where Level 3 Farming Slows Down
Level 3 is where Workshop farming becomes less predictable because the requirements shift toward rarer loot and specific ARC components. The table below shows the main bottleneck for each station, so you can target the material that is actually slowing the upgrade instead of farming every requirement at once.
| Station | Level 3 Requirements | Main Bottleneck |
| Gunsmith | 3 Rusted Gear, 5 Advanced Mechanical Components, 4 Sentinel Firing Cores | Targeted Sentinel parts |
| Gear Bench | 3 Industrial Batteries, 5 Advanced Electrical Components, 6 Bastion Cells | Tech loot plus heavy ARC kills |
| Medical Lab | 3 Rusted Shut Medical Kits, 8 Antiseptic, 5 Surveyor Vaults | Rare medical loot plus ARC parts |
| Explosives | 3 Laboratory Reagents, 5 Explosive Compound, 3 Rocketeer Drivers | Laboratory Reagents |
| Utility | 3 Fried Motherboards, 5 Advanced Electrical Components, 4 Leaper Pulse Units | Leaper farming |
| Refiner | 3 Motors, 10 ARC Circuitry, 6 Bombardier Cells | Bombardier farming |
This is why exact farming time is hard to predict. Common resources are usually manageable. One rare item or ARC component can decide how many extra raids you need.
A Faster Material Farming Plan
Do not hunt every requirement on the same map.
Mechanical and Industrial: Dam Battlegrounds is useful for Rusted Tools, Rusted Gear and mechanical components. Scrap Yard, Water Treatment Control and vehicle-heavy areas let you check several relevant loot sources in one run.
Residential: Blue Gate’s Village is a practical Toaster route for Refiner Level 2. Search kitchens, cupboards and residential containers instead of unrelated high-value zones.
Medical: Buried City Hospital is a strong route for medical loot. Laboratory Reagents, Antiseptic and other medical materials fit the same run. Testing Annex and Stella Montis Medical Research are alternatives.
ARC components need targeted enemy farming. Wasps provide Wasp Drivers, Bastions provide Bastion Cells and Bombardiers provide Bombardier Cells. Treat spawn locations as likely routes, not guaranteed drops every match.
The ARC Raiders resource farming guide helps combine Workshop farming with normal gear progression. The official Flashpoint crafting update also lets the crafting menu suggest ways to recycle, refine or purchase missing materials directly.
What the Boost Actually Changes
The current MitchCactus Crafting Station Boost supports the Equipment, Explosives, Medical, Refiner, Utility and Weapon benches individually, plus an all-stations package. Selected stations are taken to max Level 3.
MitchCactus states that the service uses account login and manual in-game play. Its general delivery estimate is 1 to 3 days depending on order size, with an Express option available.
The tradeoff is straightforward. You spend real money to remove your own farming time, but the resulting Workshop progress is still character progression.
That matters because an Expedition departure resets the Workshop and crafting capabilities. If you already plan to depart soon, finishing optional max benches immediately before the reset can be poor value.
Want to speed up your Workshop progress? Choose the option that fits your grind

If only one missing component is stopping you, ARC Raiders Materials can be a narrower alternative to paying for an entire station.
Which Route Fits Your Account?
New active player: Self farm. Push Refiner 2, Gunsmith 2 and Gear Bench 2 while learning normal loot routes.
Solo player losing rare loot: Prioritize Gear Bench and Medical Lab before chasing every Level 3 recipe.
Returning player with several low stations: Boosting has a stronger time-saving case when you want access to multiple crafting tiers quickly.
Endgame player missing one station: Farm it if most requirements are already stored. A full progression service is harder to justify when one rare component is the only blocker.
Player planning an Expedition: Wait on optional Workshop spending or boosting until after departure unless you need the unlock before leaving.
Conclusion
Self farming gives the best value to active players who enjoy the raid loop and only need a few targeted upgrades. A Crafting Station Boost makes more sense when several benches are holding back progression and saving your own playtime matters more than doing the material grind.
Start with Refiner 2, then invest in Gunsmith, Gear Bench and Medical Lab around the gear you actually use. Treat Utility and Explosives as goal-based upgrades, and check your Expedition plan before committing heavily to max Workshop progression.
Frequently Asked Questions
What crafting station should I upgrade first in ARC Raiders?
Refiner Level 2 is a strong general first target because it helps produce materials used by other upgrades. Gunsmith and Gear Bench are usually the next priorities.
What is the maximum Workshop station level?
The main specialized crafting stations currently upgrade to Level 3.
Is farming faster than a Crafting Station Boost?
It can be if most materials are already in your stash. Self farming has no fixed completion time. MitchCactus lists about 1 to 3 days for its boost depending on order size.
Does the boost require account access?
Yes. MitchCactus says it logs into the account and completes the selected upgrades through manual in-game play.
Do crafting station upgrades survive an Expedition?
No. Workshop and crafting progression reset when your Raider departs, so check your Expedition timing before a large grind or paid boost.