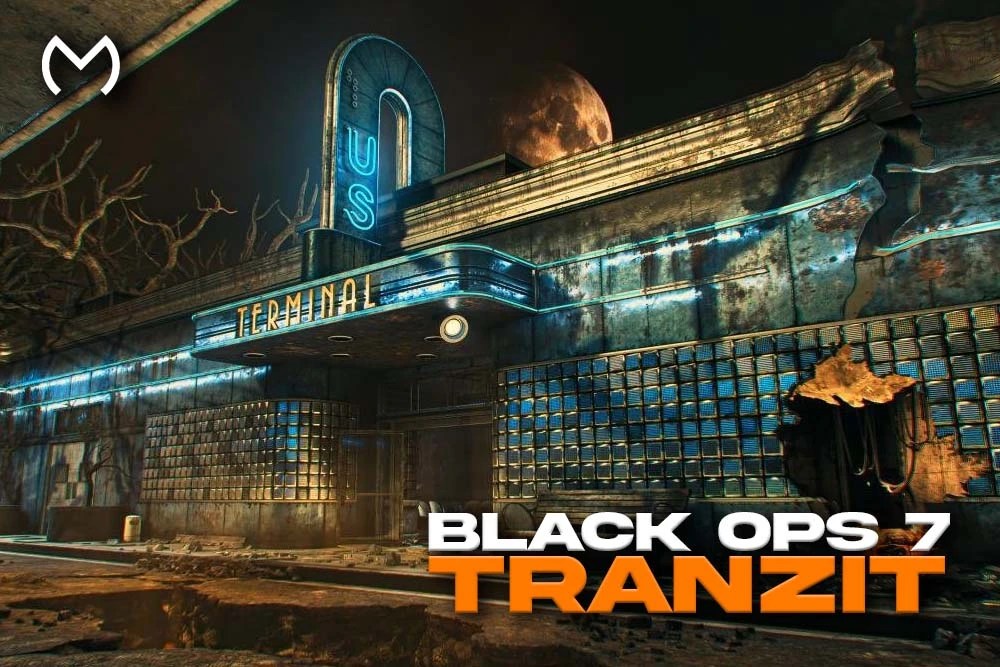
Black Ops 7 Tranzit: The Definitive Zombies Survival Guide
Yep, Tranzit is back in Black Ops 7, and it’s a total thrill ride. If you’re looking to survive wave after wave of zombies, unlock rare camos, and level up efficiently, this guide is your ticket. No worries if you’re a newbie — we’ll break everything down step by step.
Tranzit isn’t just about shooting zombies. It’s about planning your route, managing resources, and using the environment. By the end, you’ll know how to tackle rounds solo or with a team, grab maximum XP, and stay alive longer than ever.
Understanding the Tranzit Map
Tranzit is unique because it connects multiple zones with the bus system. Here’s the lowdown:
- Bus System: Your main way to travel between areas. Zombies can follow you off the bus, so timing matters.
- Key Zones:
- Diner: Early-game loot. Small zombie density. Good for beginners.
- Power Station: Activate traps, unlock perks, and get essential mid-game resources.
- Town: High-density zombie area. Rewards skilled players with points and loot.
- Farm: Open space, great for kiting, but be careful of ambushes.
- Safe Zones: Small areas to regroup, reload, and plan. Don’t underestimate them — they save lives in higher rounds.
Pro Tip: Memorize bus routes and safe zones. Knowing exactly where to go keeps you alive in high rounds.
Zombie Types and Spawn Patterns
Knowing your enemies is crucial. Tranzit zombies come in various flavors:
- Standard Zombies: Slow, easy to kill early. Later rounds see them in hordes.
- Fast Zombies: Aggressive and sneaky. Watch your flanks.
- Mutated Zombies: Tanky, take multiple shots. Avoid solo encounters.
- Special Event Spawns: Zombies can spawn during bus stops or specific areas unexpectedly.
Spawn Patterns by Round:
- Rounds 1–5: Mostly standard zombies, easy to control.
- Rounds 6–10: Mix of fast zombies and standard zombies.
- Rounds 11–20: Introduction of mutated zombies. Higher density.
- Rounds 21+: All types spawn together. Strategy and trap usage become crucial.
Tip: Pay attention to audio cues — fast zombies growl differently. This helps you prepare for attacks.
Weapons & Loadout Strategy
Choosing the right weapons can make the difference between survival and getting overrun:
- Early Game (Rounds 1–10):
- Shotguns and SMGs are best for crowd control.
- Pistols can be used to conserve ammo.
- Mid Game (Rounds 11–25):
- Assault rifles with attachments give flexibility.
- Pack-a-Punch upgrades become vital.
- Late Game (Rounds 26+):
- High-damage weapons and fully upgraded Pack-a-Punch guns are essential.
- Don’t forget explosives and traps.
Camo & Progression Tip: Stick with one weapon type to unlock camos faster. For examples of high-tier unlocks, check out the Singularity Camo Unlock page.
Perks & Traps Guide
Perks:
- Speed Cola: Faster reloads. Crucial for high rounds.
- Juggernaut: Extra health. Always useful in late rounds.
- Double Tap: Increases damage and fire rate.
- Quick Revive: Vital for solo runs.
Traps:
- Electric Fences (Power Station): Best for controlling horde bursts.
- Bus Stop Traps: Use to slow zombies when boarding.
- Environmental Hazards: Some zones have traps like flames or collapsible walls — use them strategically.
Pro Tip: Combine perks with traps for maximum effect. Example: Stand near an electric fence with Juggernaut for a near-indestructible defense point.
Detailed Map Breakdown & Strategy
Diner
- Early-game hotspot.
- Contains basic weapons and ammo.
- Zombies spawn at entrances; stay mobile.
Power Station
- Mid-game critical zone.
- Activates traps for crowd control.
- Unlocks essential perks for late-game survival.
Town
- High zombie density.
- Best for XP farming.
- Watch for ambushes from buildings and alleys.
Farm
- Open area, perfect for kiting.
- Vulnerable if zombies flank from both sides.
- Use bus or traps to manage waves.
Bus Routes
- Learn bus schedules.
- Use bus stops as temporary safe zones.
- Avoid unnecessary hops — zombies can follow.
Round-by-Round Survival Guide
Early Rounds (1–10):
- Stick to Diner or Farm for easy kills.
- Conserve ammo; melee is effective early.
- Unlock doors to Power Station ASAP.
Mid Rounds (11–25):
- Move strategically between zones.
- Upgrade weapons at Pack-a-Punch.
- Activate traps to manage higher zombie density.
- Watch out for fast zombies.
Late Rounds (26+):
- Focus on mobility and trap usage.
- Team coordination is critical: divide zones and cover each other.
- Use high-damage weapons only; save grenades for emergency horde control.
XP & Camo Progression Tips
- Stick to one weapon type per session for camo progression.
- Complete objectives in Tranzit to earn extra XP.
- Rotate weapons carefully to unlock multiple camos simultaneously.
- Rare or premium camo examples: Singularity Camo Unlock.
Pro Tip: Use XP farming strategies like looping bus routes and coordinating traps to survive longer while maximizing XP.
Solo vs Teamplay
- Teamplay: Divide zones, cover each other, and coordinate trap usage. Survival chances increase significantly.
- Solo Play: Focus on mobility, map awareness, and kiting zombies.
- Tip: Even solo players benefit from “safe zones” near bus stops or Power Station.
Advanced Pro Strategies
- Trap Chains: Activate multiple traps in sequence for maximum zombie control.
- Bus Timing: Stay on the bus during waves for temporary safety.
- Ammo Efficiency: Save grenades for emergencies; use melee or low-damage weapons early.
- Round Split Strategy: Assign teammates to specific zones — one handles traps, another focuses on kiting, and one cleans up.
Monster Energy & Bonus Rewards
Yep, extra fun exists. Monster Energy codes give cosmetic rewards, small XP boosts, or other items. Not required, but they add a little boost to your Tranzit runs: Monster Energy Rewards.
Comparing BO7 Tranzit to BO6
- Faster Zombies: More aggressive enemy behavior in BO7.
- Map Connectivity: Bus system emphasizes strategic movement.
- Reward System: XP and camo unlocks are more structured and visible.
Conclusion: Mastering Tranzit
Tranzit in Black Ops 7 is about strategy, skill, and survival. Master the map, manage your weapons, use perks and traps wisely, and coordinate if you’re in a team. With practice, patience, and strategy, high-round survival is totally achievable.
Yep, it’s challenging, but every round teaches something new — from map navigation to weapon efficiency. Keep experimenting, and you’ll become a true Tranzit expert.